mcp-use: building MCP servers in TypeScript without the headache
By Shah Rukh, software developer · · 8 min read
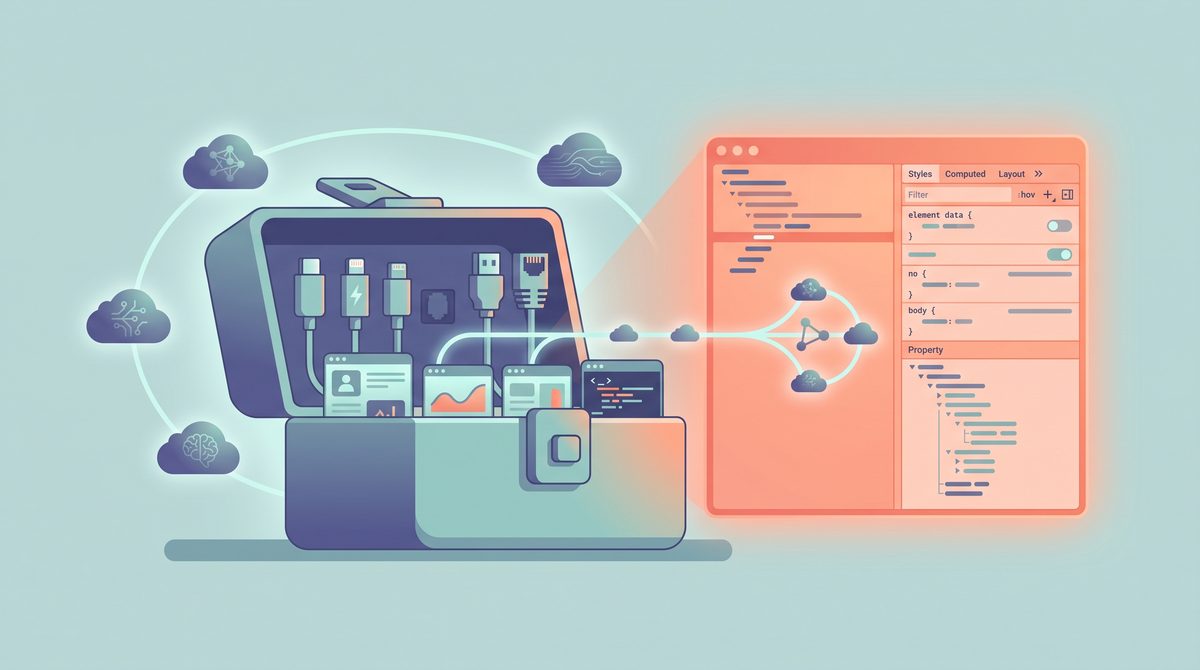
If you’ve been anywhere near AI tooling this year, you’ve heard “MCP” thrown around. It’s the Model Context Protocol, the thing that lets an AI client talk to your tools and data in a standard way. mcp-use is a TypeScript framework for building that plumbing, and the first time I read its README I thought, okay, this is actually trying to make the boring parts less boring.
I’m writing this as a beginner guide because a lot of the MCP material out there assumes you already know the protocol cold. You don’t need to.
What mcp-use actually is
The project describes itself as “the fullstack MCP framework for TypeScript.” In plain terms: you use it to build MCP servers (which expose tools, resources and prompts to an AI), MCP Apps (interactive React widgets that render inside ChatGPT and Claude), MCP agents (an LLM that decides which tools to call), and MCP clients (code that connects to a server and calls things itself). The README says it’s built on the official TypeScript SDK v2 and adds its own layer: typed tools, React Views, a built-in Inspector, a screenshot CLI, and deployment.
The headline feature, to me, is the type safety. You define a tool’s input and output with Zod schemas, and those types flow through to your React view and tool calls.
Who’s it for? People who already write a bit of TypeScript and want to ship something an AI client can use. The quickstart lists “basic familiarity with React and TypeScript” as a prerequisite. If you’ve never touched either, this is a steeper climb.
Before you start: the deeper parts of mcp-use lean on React and TypeScript, so it’s a developer tool, not a point-and-click app. The open-source package itself is free (on npm, MIT licensed). The README points you toward Manufact Cloud for one-command deploys and says you get observability and preview environments “for free” there, but the repo doesn’t spell out a full pricing table, so treat hosting cost as something to check on their site rather than something I can quote you.
What you need first
The docs are specific here, which I appreciated. You need Node.js version 22.22.2 or higher, and a package manager: npm, pnpm, or Bun all work. The example project in the repo pins node >=22.22.2 too, so this isn’t a vague “recent Node” — check your version before anything else.
You only need API keys later, and only if you build an agent. The agent package talks to an LLM through LangChain, and the docs say to set whichever key matches your provider: OPENAI_API_KEY, ANTHROPIC_API_KEY, GOOGLE_API_KEY, or GROQ_API_KEY. For building and inspecting a server, none of that is needed.
Checking Node, on Windows and Mac
Same command on both, which is the nice thing about Node. Open Terminal on a Mac, or PowerShell on Windows, and run:
node --version
npm --version
If Node prints something like v22.22.2 or higher, you’re set. If it’s missing or too old, grab the installer from nodejs.org — the LTS build is the safe pick. On Windows it’s a normal .msi; on Mac it’s a .pkg, or Homebrew if you have it. After installing, close and reopen your terminal so the node command is picked up — the old window won’t know about it yet.
Scaffolding your first project
This genuinely is a couple of commands. The project ships a scaffolder called create-mcp-use-app. Run it the same way on Windows and Mac:
npx create-mcp-use-app my-mcp-server
cd my-mcp-server
npm run dev
According to the quickstart, the CLI asks four questions. The first — your project name — needs an answer (type . to scaffold into the current folder). The other three have defaults you accept by pressing Enter: which template, whether to install AI coding skills for Cursor, Claude Code and Codex, and whether to install dependencies. There are three templates: mcp-apps (the default, a server plus an example React widget), mcp-server (a server with an example tool and prompt), and blank (minimal, no examples). If you’re new, start with the default and poke at the example rather than staring at an empty file. The first run pulls down a fair amount, so give it a minute.
Running it and opening the Inspector
npm run dev is where it clicks. The docs say this runs mcp-use dev, which serves your MCP endpoint at http://localhost:3000/mcp and opens the Inspector at http://localhost:3000/mcp/inspector. The Inspector is a browser UI where you can see your tools, fill in their inputs, and watch them respond. For a beginner this is the single most useful thing in the box — you don’t need to wire up a real AI client just to check your work.
The quickstart’s suggestion: open the Inspector, go to the Tools tab, and run a tool to see it answer. With the mcp-apps template, calling the search-tools tool renders the example widget inline, so you see a React view driven by a tool call without building anything yourself. It also hot-reloads — edit a tool or view, save, and the next request uses the refreshed server. No restart dance.
If you’d rather stay in the terminal (handy for scripts, or coding agents that can’t click a UI), the docs show a CLI client too:
npx mcp-use client connect local http://localhost:3000/mcp
npx mcp-use client local tools list
The first line saves your server as local; after that you address it by name.
What a tool looks like
Here’s the shape of a tool, trimmed from the docs. You give it a name, a description, an input and output schema, then an async function that does the work:
import { MCPServer } from "mcp-use";
import { z } from "zod";

const server = new MCPServer({ name: "greeter", version: "1.0.0" });

server.tool(
  {
    name: "greet",
    description: "Greet someone by name",
    inputSchema: z.object({ name: z.string() }),
    outputSchema: z.object({ greeting: z.string() }),
  },
  async ({ name }) => ({
    content: [{ type: "text", text: `Said hello to ${name}` }],
    structuredContent: { greeting: `Hello, ${name}!` },
  }),
);

await server.listen(3000);
That structuredContent is the typed output. If you attach a React view, the view receives exactly that shape, type-checked. Run npm run typecheck after editing and it’ll flag mismatches before they bite.
The settings and features worth knowing
- Tunneling. The README says you can start a tunnel from the Inspector UI, or run
mcp-use dev --tunnel, to get a public URL and test your local server with ChatGPT and Claude before you deploy. - Screenshot CLI. There’s an
npx mcp-use screenshotcommand that captures a view headlessly — useful in CI or when an agent is driving things. - The ecosystem split.
mcp-useis the server framework;@mcp-use/clientconnects to servers;@mcp-use/agentbuilds model-powered agents. Install only what you need. There’s a Python version on PyPI too, if your stack isn’t TypeScript. - Build and deploy.
npm run buildmakes a production build;npm run deployships to Manufact Cloud, and the repo links a self-hosting guide if you’d rather run it yourself.
Precautions I’d actually take
A few things specific to this kind of tool, not generic hand-waving:
- Read what you run.
npx create-mcp-use-appdownloads and executes code from npm. That’s normal for Node tooling, but you’re still trusting the package — stick to the official name and the real docs. - Keep secrets in environment variables. The project’s own security notes say exactly this — never hardcode API keys. When you add an LLM provider key for an agent, put it in your environment, not in a committed file.
- Mind the exposed port. Dev mode serves on
http://localhost:3000, local by default. But the moment you open a tunnel or deploy, you’re exposing tools to the outside. Only expose what you mean to. - Agents send data to third-party AI providers. If you build an agent, your prompts and tool results travel to OpenAI, Anthropic, Google or Groq depending on the model. Don’t feed it anything you wouldn’t want leaving your machine.
- Review server permissions. The security guidance is to limit a server to only the tools it needs, and to review permissions before connecting to any MCP server — including ones other people wrote.
Things that went sideways (or might)
The most common snag is Node version. If a command errors out in a confusing way, check node --version first; anything below 22.22.2 is a likely culprit. On Windows, if node or npx isn’t recognized right after installing, reopen your terminal — the PATH update doesn’t reach an already-open window.
I’d also flag what the repo doesn’t cover: there are no Windows-specific setup steps (the commands are identical across platforms, which is good, but it means no special Windows guidance exists), and I didn’t find a documented uninstall procedure. For a scaffolded project, “uninstall” really just means deleting the project folder and, if you installed packages globally, removing them with your package manager.
The licence
mcp-use is released under the MIT License (copyright 2025 pietrozullo, per the repo’s LICENSE file). That’s about as permissive as it gets — use, modify and ship it commercially, as long as you keep the licence notice. The hosted Manufact Cloud piece is a separate service with its own terms, so the MIT licence covers the framework, not the hosting.
A couple of our small utilities pair nicely with this kind of work: Markdown to HTML for turning notes into docs, CSV to JSON for shaping sample data, and Base64 encoder/decoder for quick payload checks. None are part of mcp-use; they’re just things I reach for while tinkering.
My honest take: if you already write TypeScript, mcp-use lowers the barrier to building something real with MCP, and the Inspector keeps the feedback loop quick. If you don’t, treat the quickstart as a weekend project, not a five-minute one.
I wrote this from the project’s repo as it was on October 5, 2026, so commands, versions and features may have changed since — always double-check against the official docs and the current README. ToolsCloset isn’t affiliated with or endorsed by mcp-use or Manufact; this is an independent walkthrough.
Frequently asked questions
Is mcp-use free?
The framework itself is open source under the MIT License, so the package on npm is free to install and use, including commercially. The repo points to Manufact Cloud for one-command deployment and says you get features like observability for free there, but it doesn't publish a full pricing table, so check their site for current hosting costs.
Do I need to know TypeScript to use it?
For anything beyond the basics, yes. The quickstart lists basic familiarity with React and TypeScript as a prerequisite. You can run the scaffolder and poke at the Inspector without writing much, but building your own tools and views means writing TypeScript.
What version of Node do I need?
Node.js 22.22.2 or higher. The docs state this explicitly and the example project pins the same minimum, so check with node --version before you start. You can use npm, pnpm, or Bun as your package manager.
How do I open the Inspector?
Run npm run dev in your project. That starts the dev server at http://localhost:3000/mcp and opens the Inspector at http://localhost:3000/mcp/inspector in your browser, where you can list your tools and run them to see the responses.
Does it work the same on Windows and Mac?
The commands are identical on both, which is one of the upsides of a Node-based tool. The repo doesn't document any Windows-specific steps. The one Windows gotcha is reopening your terminal after installing Node so the node command is recognized.
What's the difference between the server, client and agent packages?
The mcp-use package is the server framework for exposing tools, resources and prompts. @mcp-use/client connects to MCP servers and calls things from your own code. @mcp-use/agent wraps an LLM that decides which tools to call on its own. Install only the ones your project needs.
Is there an uninstall step?
The repo doesn't document a dedicated uninstall. For a scaffolded project, removing it is really just deleting the project folder; if you installed any packages globally, remove them with your package manager. If you want a definitive answer, ask in the project's Discord.
More AI tips
Free Claude Code Setup Guide
Run the Claude Code app with free AI models on Windows or Mac. Full steps, plus the precautions most guides skip.

EmailOSINT Review and Guide
See which accounts, data breaches and stolen-password logs are tied to your email, and what to do about each result.
FastMCP for beginners
Turn a plain Python function into a tool an AI assistant can call. Setup on Windows and Mac, step by step.

Set up Context Mode the easy way
Context Mode is an MCP plugin that stops your coding agent's context window from filling up with raw tool output.

TradingView MCP Guide
Self-host the free TradingView MCP server on Windows or Mac, or pay for hosting — and mind the data-not-advice caveat.
AWS MCP servers, explained
AWS publishes a big set of open-source MCP servers. Here's what they do and how to wire one into your AI coding assistant.
OpenHands Agent Canvas Guide
Set up the OpenHands control centre for AI coding agents on Windows or Mac, with the safety steps to take first.
Dify Self-Hosting Guide
Run the Dify AI app builder on your own computer with Docker Compose, and know the costs and licence limits first.

LibreChat Docker Setup Guide
Run your own ChatGPT-style chat app on your computer with Docker. Full steps, real costs and safety checks.
Unity MCP Setup Guide
Let Claude Code, Cursor or Copilot work inside the Unity Editor. Full install steps, plus the precautions to take first.

sprite-gen Setup Guide
Turn one character drawing into a transparent game sprite sheet. Setup steps, real costs and precautions.

Logo Design Skill Setup Guide
Add a free logo-design skill to Claude or another AI agent on Windows or Mac, with the precautions to take first.
Openvid Screen Demo Guide
Record your screen and turn it into a polished demo in the browser, or run Openvid yourself on Windows or Mac.

ReelMimic Setup Guide
Set up ReelMimic to make an original 2D animation in the style of a reference video, with the copyright checks to do first.